 Stampede Design
Product sashes like On Sale, Bestseller and Sold Out are certainly a nice touch for any e-commerce websites, aesthetically as well as providing a positive user experience.
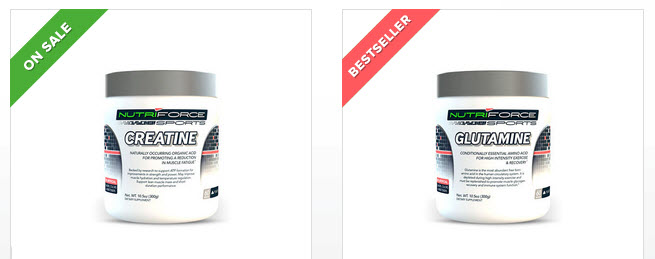
Sample of product sashes.
In BigCommerce, exclusive product sash features are not built-in but they can be added using some clever jQuery tricks. Specifically, we need to tell jQuery to read the page for certain “triggers” or “conditions” and show the appropriate sash based on them. The key to product sashes is they have to appear in product listing pages (like category, homepage, search result) and the product details page. This means the “triggers” have to be present in all these pages for jQuery to detect.
On Sale Sash
In the following example, I am going to show how to add the most common of all product sashes, On Sale. Firstly, we need to set the discounted price for the appropriate products. If this was done right, the products will show up in the shop with a strike-through line on their original retail price. This element will become the “trigger” for the On Sale sash. So we just have to tell jQuery, if this element exists, show the On Sale sash. Below are Javascript codes for the category and product details pages.
Product Category Page
$("#CategoryContent .ProductList li .RetailPriceValue").each(function( index ) {
   $(this).parents('li').find('.ProductImage').append('<img src="http://myshopurl.com/path_to_image/on-sale.png" class="product-sash" alt="On Sale" />');
});
Product Details Page
if($('.DetailRow.RetailPrice').is(':visible')) {
   $('.ProductThumbImage .zoomPad').append('<img src="http://myshopurl.com/path_to_image/on-sale.png" class="product-sash" alt="On Sale" />');
}
Any Miscellaneous Sashes
A slightly trickier scenario is to show product sashes like Bestseller and New, which we don’t really have a way to configure via the BC admin. Even though BC has product tags and custom fields, these data don’t show up in the product category pages. Fortunately, we have something else to use, the main image alternate text. In BC admin, it’s the Description box of the main product image. You need to enter a unique identifying keyword in the Description box and thanks to jQuery, reading the presence of this keyword is a breeze. This method will allow you to show any kinds of product sashes.
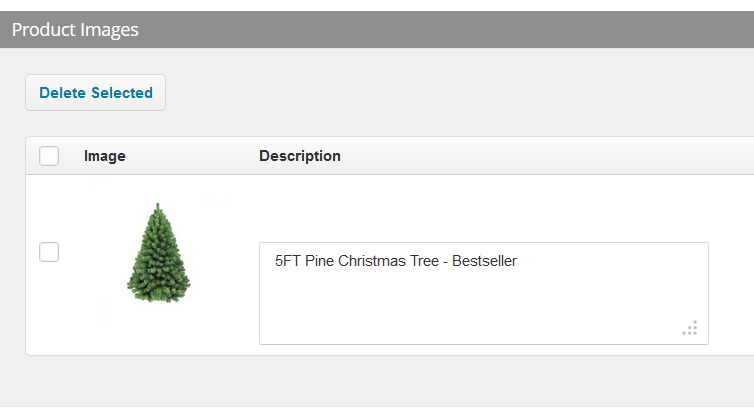
Enter the keyword into the Description field of the main image.
For showing a Bestseller sash, enter the keyword Bestseller. I personally prefer to enter the actual product name followed by the keyword to keep the semantics right, like 5ft Christmas Tree – Bestseller. Here’s the code for showing the Bestseller product sash.
Product Category Page
$("#CategoryContent .ProductList li .ProductImage a img[alt*='Bestseller']").each(function( index ) {
   $(this).parents('li').find('.ProductImage').append('<img src="http://myshopurl.com/path_to_image/best-seller.png" class="product-sash" alt="Bestseller" />');
});
Product Details Page
if(ProductImageDescriptions[0] && ProductImageDescriptions[0].indexOf("Bestseller") >= 0) {
   $('.ProductThumbImage .zoomPad').append('<img src="http://myshopurl.com/path_to_image/best-seller.png" class="product-sash" alt="Bestseller" />');
}
The examples I provide here only contain the necessary jQuery code snippets to make the product sash works. It’s not really a step-by-step beginners tutorial. You would need CSS to style the product sash nicely. Don’t forget about the sash graphics too, they are transparent PNGs. I can also foresee that my codes are totally template-dependent. However, if you are familiar with jQuery selectors I am sure you will be able to understand the gist and tweak the codes accordingly to fit your templates.
Give it a try and post your feedback below!
